When it comes to getting that lush, green lawn you’ve been dreaming about, hydroseeding is a total game-changer. But there’s one key step that often gets overlooked: proper soil preparation. Before you ever see those beautiful green sprouts popping up, the real magic happens underground. So, let’s dig (pun totally intended) into why soil prep is so essential—and how to do it right.
Why Soil Preparation Matters
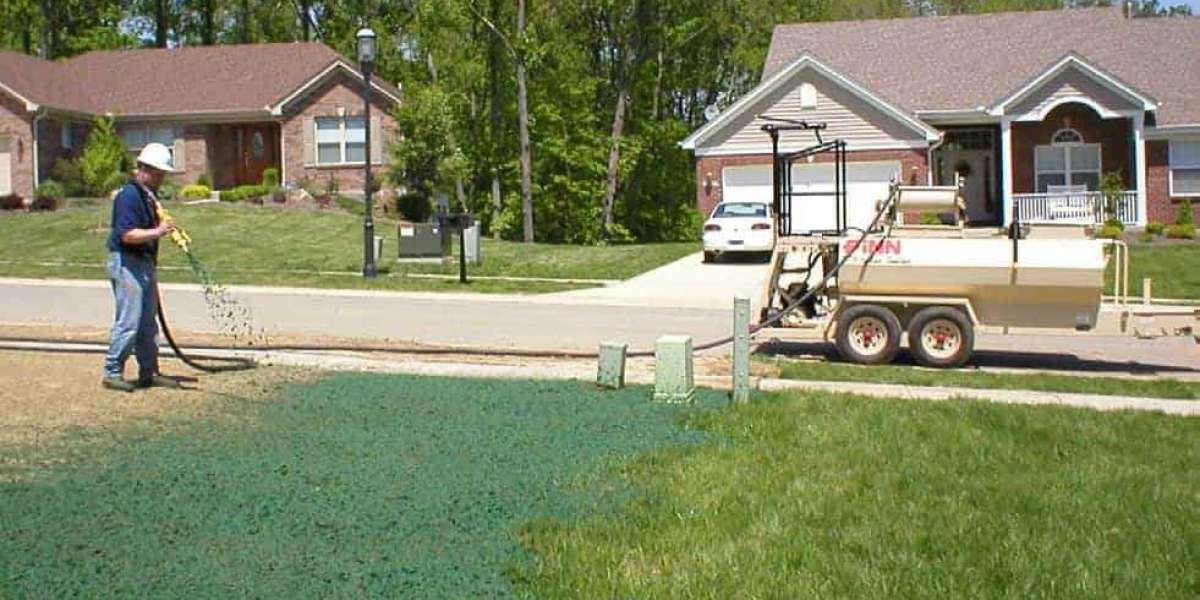
Think of your lawn like a house. You wouldn't build a home without laying a strong foundation, right? The same principle applies here. Hydroseeding involves spraying a mix of seed, water, mulch, fertilizer, and tackifier onto your yard. But for those seeds to thrive, they need healthy, well-prepared soil to nestle into.
If the ground is too compact, full of debris, or lacking nutrients, those seeds won't stand a chance. Proper prep ensures that moisture gets retained, roots can penetrate easily, and your lawn grows thick, even, and vibrant.
Step 1: Clear the Area
First things first—clean it up! Remove any rocks, sticks, weeds, and existing vegetation. This stuff can interfere with seed-to-soil contact, which is critical for germination. If you've got any stubborn weeds, you might need to use a non-selective herbicide, but make sure to follow the product’s waiting period before moving forward.
If you’re working with a larger or more rugged area, this might be a good time to consider professional help. Companies offering Hydroseeding Services in Tilton, for instance, often include debris removal and initial soil prep in their packages.
Step 2: Grade the Soil
Once your yard is cleared, grading is next. Grading ensures proper drainage and avoids water pooling, which can lead to seed rot or patchy growth. Use a landscaping rake or, for larger areas, consider renting a tractor or skid-steer to even out the slope.
The goal is to create a gentle grade away from any structures—this helps prevent future water damage to your home while encouraging even lawn growth.
Step 3: Loosen the Soil
Now it’s time to loosen things up. Compact soil is a big no-no because it can choke out new roots. Use a rototiller to break up the top 2 to 3 inches of soil. This will help with aeration and root development and create a welcoming environment for your new seeds.
If you're not sure whether your soil is too compacted, try sticking a screwdriver into the ground. If it goes in easily, you're probably good. If not, it’s time to till!
Step 4: Amend the Soil (If Needed)
Not all soil is created equal. If you’ve got heavy clay or sandy soil, you may need to amend it to create the perfect growing conditions. Adding compost or organic matter can improve soil texture and fertility.
Some hydroseeding professionals will do a soil test beforehand to determine what nutrients are lacking. If you’re working with a reputable provider of Hydroseeding Services in Tilton, they can help you figure this out and make recommendations on the right soil amendments to use.
Step 5: Final Rake Watering
Once your soil is in good shape, give it a final smooth rake to break up clumps and create a level surface. At this point, you’re ready for hydroseeding! Some pros recommend a light watering before applying the hydroseed slurry, especially if the soil is bone dry.
Bonus Tip
While soil prep is crucial, so is timing. In New Hampshire, spring and early fall are generally the best times to hydroseed. The temperatures are moderate, and rainfall is more consistent—both of which are great for seed germination.
So there you have it! Soil prep might not be the most glamorous part of creating a beautiful lawn, but it’s absolutely essential. Taking the time to do it right sets the stage for a lush, healthy yard that you’ll love for years to come.
And if you're feeling overwhelmed or short on time, don’t worry—you’re not alone. Plenty of homeowners turn to Hydroseeding Services in Tilton to get professional results without the hassle. They’ve got the tools, knowledge, and experience to make sure your lawn gets the best start possible.