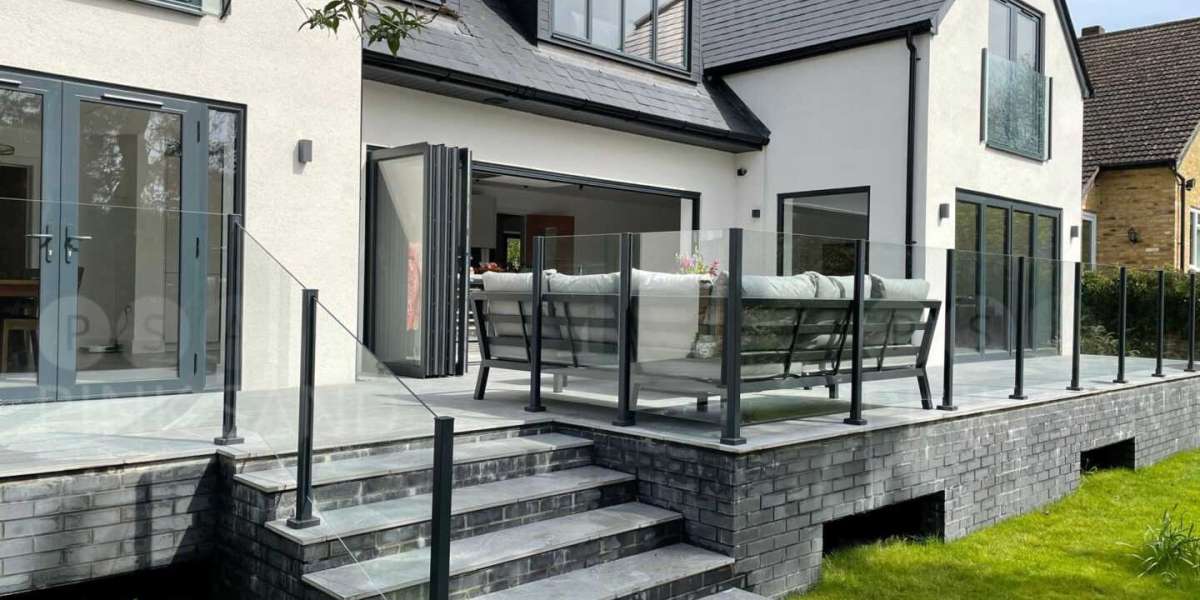
Bifold doors have become increasingly popular in modern homes due to their ability to seamlessly connect indoor and outdoor spaces. They offer a stylish and functional solution for patios, balconies, and even interior rooms. Installing bifold doors can seem daunting, but with the right tools, materials, and a clear understanding of the process, it can be a rewarding DIY project. This article will guide you through the essential steps of bifold door installation, ensuring a successful outcome that enhances both the aesthetics and functionality of your space.
Understanding Bifold Doors
Bifold doors consist of two or more panels that fold in on themselves, allowing for wide openings that can be fully opened or partially closed. They are available in various materials, including wood, aluminum, and uPVC, each offering unique benefits. When selecting bifold doors, consider factors such as insulation, weather resistance, and design compatibility with your home.
Tools and Materials Needed
Before beginning the installation, gather the following tools and materials:
- Bifold door kit (including panels, tracks, and hardware)
- Measuring tape
- Level
- Drill and drill bits
- Screwdriver
- Saw (if adjustments to the door size are necessary)
- Shims
- Safety goggles
- Caulk and caulking gun
- Wood glue (if applicable)
- Paint or stain (if finishing wood doors)
Preparation for Installation
- Measure the Opening: Accurate measurements are crucial for a successful installation. Measure the width and height of the door opening at three points (top, middle, bottom) and use the smallest measurement to determine the door size. Ensure that the opening is square by checking the diagonals; they should be equal.
- Choose the Right Bifold Door Kit: Based on your measurements, select a bifold door kit that fits your opening. Kits typically come with all necessary components, including panels, tracks, and hardware.
- Prepare the Site: Clear the installation area of any furniture or obstacles. Ensure the floor is level and free of debris. If you are replacing an existing door, carefully remove it and any associated hardware.
Installation Steps
Step 1: Install the Top Track
- Mark the Track Position: Use a level to mark a straight line where the top track will be installed. The track should be positioned at the top of the door frame, ensuring it is level.
- Attach the Top Track: Secure the top track to the marked position using screws provided in the bifold door kit. Ensure the track is firmly anchored and level.
Step 2: Install the Bottom Track
- Position the Bottom Track: Similar to the top track, measure and mark where the bottom track will go. It should align with the top track and be level.
- Secure the Bottom Track: Attach the bottom track to the floor using screws. If the floor is uneven, use shims to ensure the track is level.
Step 3: Hang the Door Panels
- Prepare the Panels: If necessary, trim the door panels to fit the opening. Follow the manufacturer's instructions for cutting. Sand any rough edges and apply paint or stain if desired.
- Attach the Hinges: Attach the hinges to the top of the first panel according to the instructions. Ensure they are aligned correctly for smooth operation.
- Hang the First Panel: Lift the first panel into position, placing the top hinge into the top track and the bottom hinge into the bottom track. Repeat this process for each additional panel.
Step 4: Install the Handle and Locking Mechanism
- Attach the Handles: Install the handles on the door panels as per the manufacturer's instructions. Ensure they are positioned for easy access.
- Install the Locking Mechanism: If your bifold door includes a locking mechanism, follow the instructions to install it securely. Test the lock to ensure it functions properly.
Step 5: Adjust the Panels
- Check Alignment: Once all panels are hung, check their alignment. Adjust the hinges or tracks as necessary to ensure the doors open and close smoothly.
- Test Operation: Open and close the bifold doors several times to ensure they operate smoothly without sticking or rubbing against the frame.
Final Touches
- Seal Gaps: Use caulk to seal any gaps between the door frame and the wall or floor. This will help improve insulation and prevent drafts.
- Finishing Touches: If you haven’t already, apply any final paint or stain to the doors. Allow sufficient time for drying before using the doors.
- Clean the Area: Remove any debris or tools from the installation area. Ensure the bifold doors are clean and free of dust or fingerprints.
Maintenance Tips
To keep your bifold doors in optimal condition, consider the following maintenance tips:
- Regular Cleaning: Clean the tracks and panels regularly to prevent dirt buildup that can impede operation.
- Lubricate the Tracks: Apply a silicone-based lubricant to the tracks periodically to ensure smooth operation.
- Inspect for Damage: Regularly check for any signs of wear or damage, such as cracks in the panels or misalignment in the tracks.
Conclusion
Bifold door installation can transform your living space, providing a beautiful transition between indoor and outdoor areas. By following this comprehensive guide and taking the time to prepare properly, you can achieve a professional-looking installation that enhances your home’s appeal and functionality. Whether you are a seasoned DIY enthusiast or a first-time Window Installer St Albans, the satisfaction of completing your bifold door project will be well worth the effort. With proper care and maintenance, your bifold doors will serve you well for years to come.


